Victron MPPT Charger
Monitors and controls Victron SmartSolar MPPT solar charge controllers via Modbus TCP.
This template connects to Victron SmartSolar MPPT charge controllers via Modbus TCP. It reads battery voltage, current, PV power, charge state, and yield data. It also allows remote enabling or disabling of the charger.
- Protocol
- Modbus TCP
- Connection
- Ethernet, Modbus TCP
- Registers
- 20, read and write
- Brand
- Victron Energy B.V.
- Key readings
- Battery Voltage · Battery Current · PV Power · PV Voltage · Charge State · Yield Today
- Available commands
- Charger On/Off
- Compatible models
- SmartSolar MPPT 75/10 · SmartSolar MPPT 75/15 · SmartSolar MPPT 100/15 · SmartSolar MPPT 100/20
- Last updated
Registers (20)
19 read, 1 write
| Name | Unit | Access | Address (Hidden until you enter your email) | Function (hidden) | Type (hidden) |
|---|---|---|---|---|---|
| Battery Voltage | V | Read | |||
| Battery Current | A | Read | |||
| PV Power | W | Read | |||
| Battery Temperature | °C | Read | |||
| Charge State | Read | ||||
| PV Voltage | V | Read | |||
| Equalization pending | Read | ||||
| Equalization time remaining | min | Read | |||
| Relay on the Charger | Read | ||||
| Yield Today | kWh | Read | |||
| Yield Yesterday | kWh | Read | |||
| Maximum charge power today | W | Read | |||
| Maximum charge power yesterday | W | Read | |||
| Error Code | Read | ||||
| User Yield | kWh | Read | |||
| MPP operation mode | Read | ||||
| PV Voltage for tracker 0 | V | Read | |||
| Lo batt. voltage alarm | V | Read | |||
| High batt. voltage alarm | V | Read | |||
| Charger on off | Write |
Loading registers…
Send your device list
If a device is not in the library yet, we build the template for free as soon as we have the register data.
Use cases
- Monitor battery voltage, current, and PV power in real time on a cloud dashboard for off-grid installations.
- Create an alert when battery voltage drops below a critical threshold to prevent deep discharge.
- Track daily and historical solar yield to verify system performance against design expectations.
- Remotely disable the charger during maintenance or when battery storage is full and load shedding is required.
- Compare PV power output across multiple sites equipped with Victron SmartSolar MPPT controllers.
- Detect charger alarm conditions and notify the end customer or service team automatically.
Installation
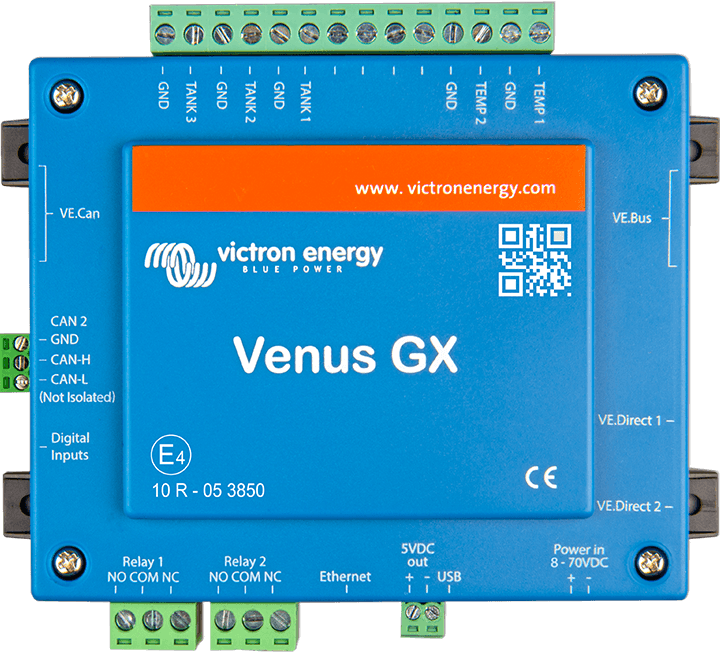
Connect the Victron SmartSolar MPPT charger to a Victron GX device (e.g. Cerbo GX) and ensure Modbus TCP is enabled in the GX device settings.
Wire the ModbusCloud Gateway to the same local network as the GX device using an Ethernet cable.
Verify the IP address and Modbus TCP unit ID of the MPPT charger as shown in the GX device remote console.
Import the Victron MPPT Charger template in the ModbusCloud portal and assign the correct IP address and unit ID.
Confirm that live readings such as battery voltage and PV power appear on the ModbusCloud dashboard before completing the installation.
Things to watch for
Why do I need a Victron GX device to use this template?
The SmartSolar MPPT chargers do not natively expose a Modbus TCP interface. A GX device such as the Cerbo GX acts as the Modbus TCP server and makes the charger registers available on the local network.
Why does the PV voltage show two different register addresses?
The main PV voltage is at register 776, while PV voltage for tracker 0 is at register 3700. The template reads both. Which one applies depends on the charger model and firmware version.
Battery current shows negative values. Is this normal?
Yes. The battery current register is a signed 16-bit integer (int16). Negative values typically indicate discharge or reverse current flow, depending on the system configuration.
What baud rate or serial settings do I need?
This template uses Modbus TCP, not Modbus RTU. No baud rate or serial wiring configuration is needed. Communication happens over Ethernet via the GX device.
More Victron Energy B.V. templates
Want to see how it works?