On this page
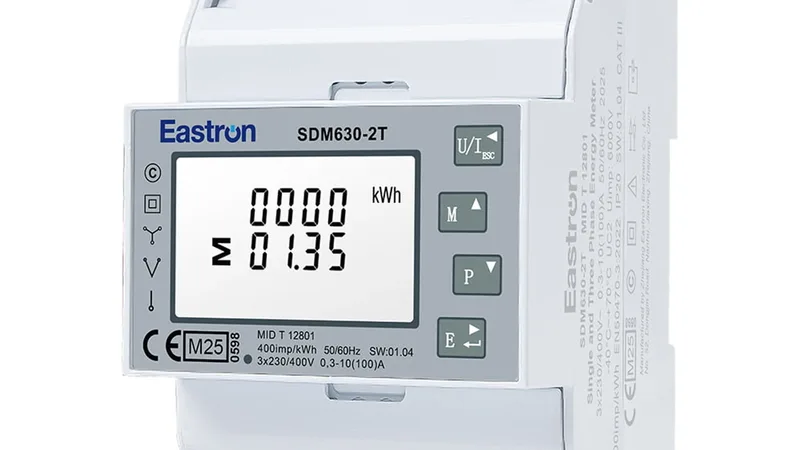
Home Assistant Modbus is the official core integration that lets you read Modbus devices locally inside Home Assistant, without a vendor cloud and without extra licensing. To show a customer a SolarEdge inverter, an Eastron SDM630 energy meter or a Stiebel Eltron heat pump on a dashboard, it is usually the fastest route. The traps are the connection types, the YAML scaling factors and the vendor port numbers. SolarEdge and Kostal serve Modbus TCP on port 1502, and entering the standard port 502 for them is the most common installer mistake.
What is the Home Assistant Modbus integration?
The Home Assistant Modbus integration is a core component (shipped since Home Assistant 0.30 and present in every modern release) that exposes seven entity types: sensor, binary_sensor, switch, climate, light, cover and fan. It builds on the Python pymodbus library and can run any number of hubs in parallel, each with a separate connection to a physical bus or a network device.
Installers typically use the integration in four scenarios. They monitor a PV inverter without the vendor portal, analyse a sub-meter, control a heat pump locally or feed load balancing data to an EV charger. According to Home Assistant Analytics, about 2.1 million active installations are running globally as of 2026 Q1, with the United States, Germany and the Netherlands as the top countries.
The integration is free and open source. For a primer on Modbus itself, see What is Modbus. For the physical RS485 layer, see Modbus RTU explained.
Pick the connection type by how the device connects
Home Assistant supports four connections. In installer practice you use three: tcp (native Modbus TCP over Ethernet), rtuovertcp (RTU frames inside a TCP socket, for serial forwarders behind the network) and serial (USB-RS485 adapter directly on a physical bus). The fourth option, udp, is rarely useful (Home Assistant Modbus docs).
| Connection | YAML type | Example device | When to choose |
|---|---|---|---|
| Modbus TCP | tcp | SolarEdge HD-Wave, Fronius Symo, KEBA P30 | Device exposes its own Ethernet port and speaks native Modbus TCP |
| RTU over TCP | rtuovertcp | Industrial gateway like Teltonika RUT241 or USR-TCP232 | An existing RS485 bus needs to be reached over the network |
| Serial RTU | serial | Eastron SDM630, Stiebel Eltron WPL, ABB | Device only exposes A/B/GND terminals |
| UDP | udp | rare | rarely needed |
What you need before you start
A minimal Home Assistant Modbus setup needs three hardware decisions (host, adapter, cable) and two software decisions (version and YAML editor). Skipping a step usually costs an hour of troubleshooting later.
- Host: Home Assistant Green, Yellow, a Raspberry Pi 4 with at least 4 GB of RAM, or an Intel NUC. SSD storage is required for 24/7 use; SD cards typically fail after 18 months of continuous logging.
- Modbus TCP: an Ethernet cable (Cat5e or Cat6) and a static IP on the device.
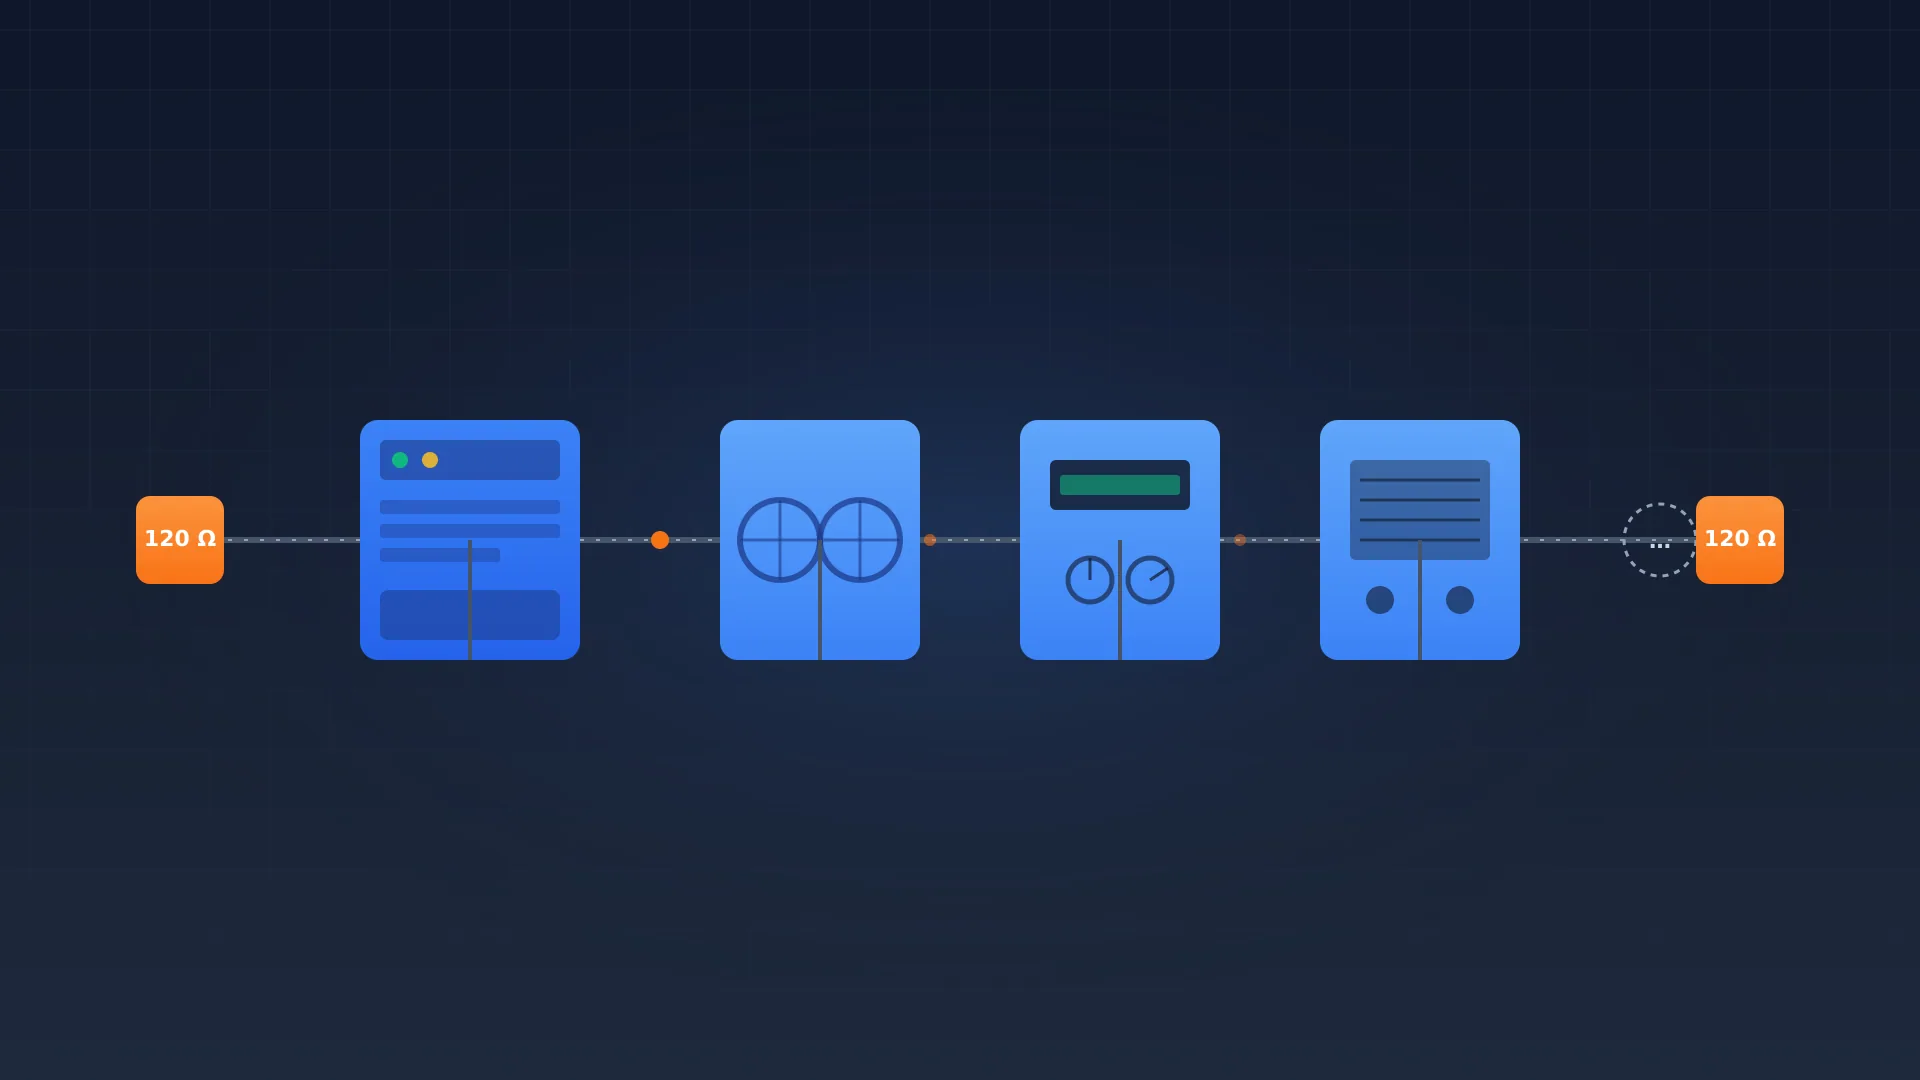
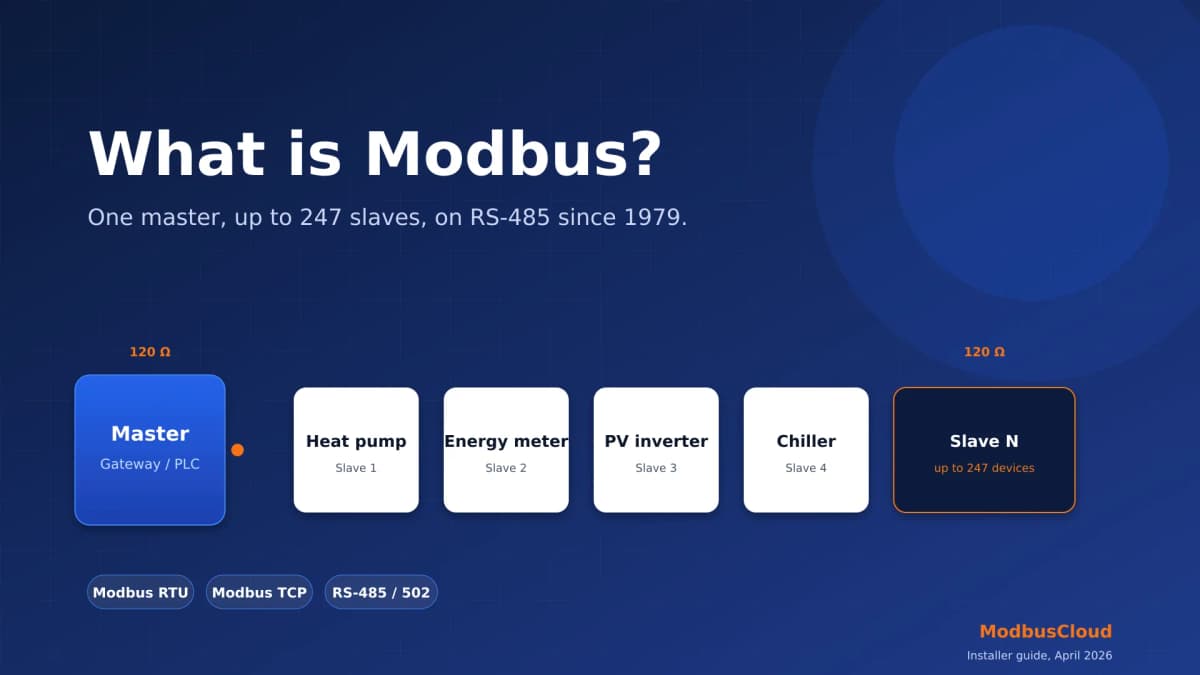
- Modbus RTU: a USB-RS485 adapter with an FTDI FT232 or Silicon Labs CP2102 chip and shielded twisted-pair cable (Belden 9841 or Lapp Unitronic Bus LD). Add a 120 ohm termination resistor at each end of the bus.
- Software: Home Assistant Core 2024.10 or newer (older versions miss the
rtuovertcpreconnect fix), File Editor or Studio Code Server add-on for editing YAML. - Time: budget about 30 minutes per device for the first integration, 10 minutes per similar device after that.
Step by step: configure a Modbus TCP hub
In this example you connect a SolarEdge HD-Wave inverter to Home Assistant over Modbus TCP on port 1502. The same skeleton works for Fronius Symo (port 502), KEBA P30 (port 502), Victron GX (port 502), and with a port change for Kostal Plenticore (port 1502). Work in configuration.yaml or in a separate file included via modbus: !include modbus.yaml.
- 1
Enable Modbus TCP on the inverter
Open SetApp or the inverter's local web interface (you need the service password printed on the inverter). Under Communication, choose Modbus TCP, enable it, and set the port to 1502. Save and reboot.
- 2
Reserve a static IP
Add a DHCP reservation in your router or assign a static IP on the inverter. If the IP changes through normal DHCP renewal, the Home Assistant integration drops without a clear error.
- 3
Add the Modbus hub to configuration.yaml
Open
configuration.yamlormodbus.yamland paste the block below, with your IP and slave ID. SolarEdge HD-Wave uses slave 1 for the inverter, 2 for the battery, 3 for the meter.modbus: - name: solaredge type: tcp host: 192.168.1.150 port: 1502 timeout: 5 delay: 1 sensors: - name: PV power now slave: 1 address: 40083 input_type: holding data_type: int16 unit_of_measurement: W scale: 1 offset: 0 precision: 0 scan_interval: 10 device_class: power - 4
Validate the YAML
In Home Assistant, open Developer Tools, the YAML tab, and click Check Configuration. A green message confirms the syntax is valid and the hub will load. A red message points at the offending line.
- 5
Restart Home Assistant
Click Restart Home Assistant. After about 30 seconds, the entity
sensor.pv_power_nowappears in Developer Tools, States. If the value staysunavailable, walk through the troubleshooting table below for port, IP and slave ID.
Sensor entities and scaling
Raw Modbus register data is rarely usable as is. Energy meters return tenths or hundredths, inverters mix int16 for instantaneous power with uint32 for cumulative energy. Always declare scale, offset, precision and data_type explicitly.
| Address | Name | Type | Unit | R/RW | Description |
|---|---|---|---|---|---|
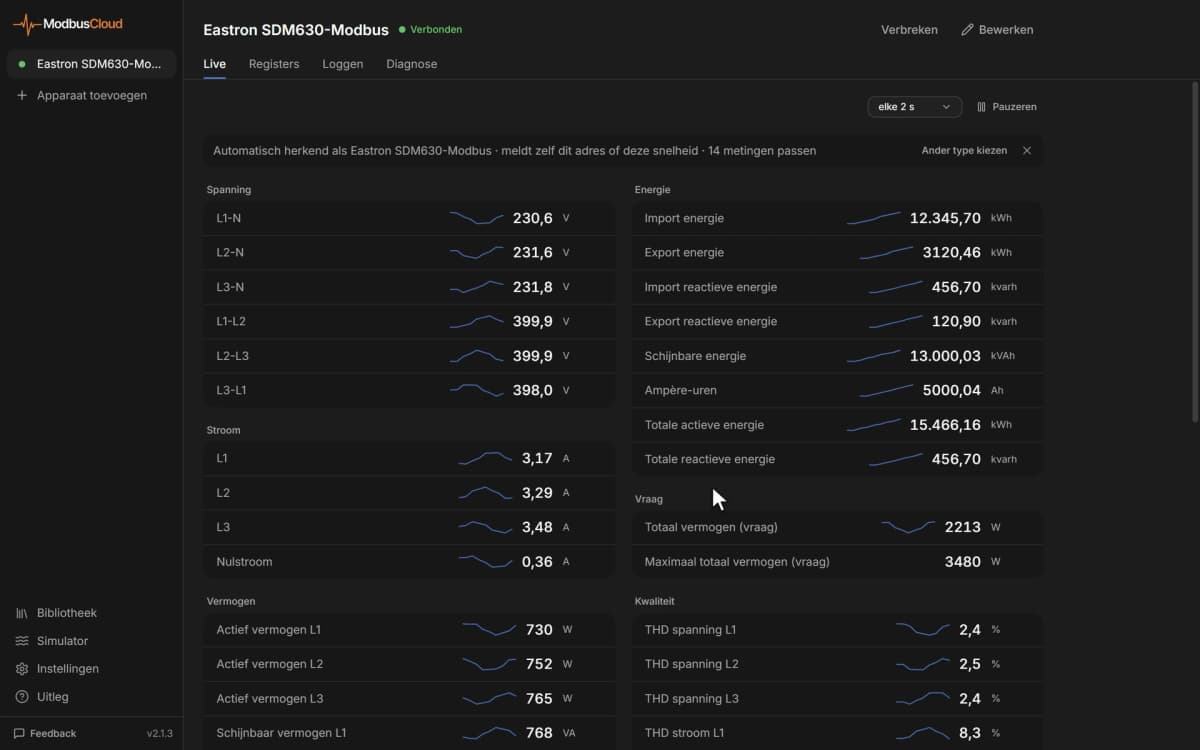
| 0x0000 | Voltage L1 | Float32 | V | R | |
| 0x0006 | Current L1 | Float32 | A | R | |
| 0x000C | Active power L1 | Float32 | W | R | |
| 0x0034 | Total energy import | Float32 | kWh | R | |
| 0x004A | Frequency | Float32 | Hz | R |
For the SDM630 over a serial RTU bus, the YAML differs from TCP. You set type: serial, a port such as /dev/ttyUSB0, and the serial parameters method, baudrate, bytesize, stopbits, parity. The factory default on the SDM630 is 9600 baud, 8N1.
modbus:
  - name: sdm630
    type: serial
    method: rtu
    port: /dev/ttyUSB0
    baudrate: 9600
    bytesize: 8
    stopbits: 1
    parity: N
    sensors:
      - name: SDM630 voltage L1
        slave: 1
        address: 0
        input_type: input
        count: 2
        data_type: float32
        unit_of_measurement: V
        precision: 1
        scan_interval: 30
        device_class: voltage
count: 2 is mandatory for float32 because Modbus carries 16 bits per register, so a float32 spans two registers. Omit it and Home Assistant only reads the high word, returning 0.0 or NaN.
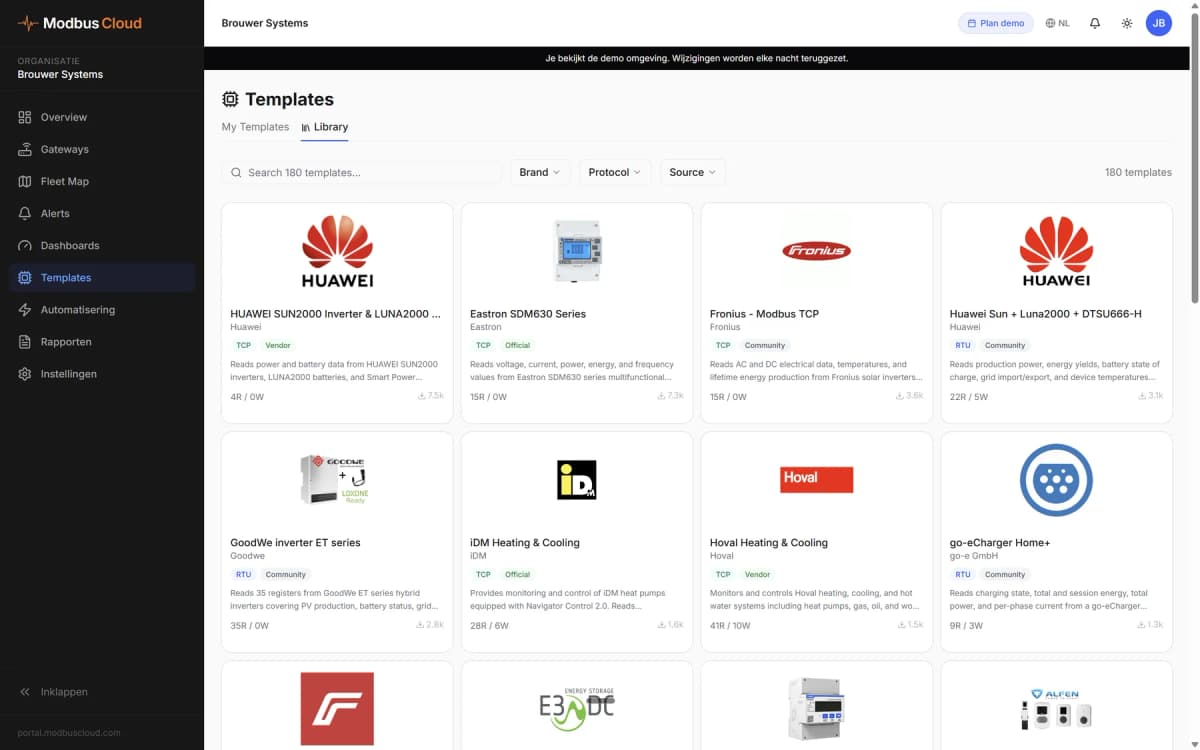
Ready-made register sets with addresses, data types and scaling factors for hundreds of devices, including energy meters and inverters, are in the ModbusCloud template library.
Which scan_interval fits which device
Home Assistant's 15 second default is a compromise. PV inverters and chargers benefit from it, heat pumps poll unnecessarily often (loading the bus), and smart meters can relax to 30 seconds. Setting the interval too short produces CRC errors and unavailable flickers in the dashboard.
Common pitfalls and how to fix them
| Symptom | Likely cause | Fix |
|---|---|---|
Sensor stays unavailable | Wrong port (502 instead of 1502 for SolarEdge) | Update port in YAML, restart |
| Value always 0 or NaN | count missing for float32 | Set count: 2 for float32, count: 4 for float64 |
| Value off by a factor of 10 or 100 | Missing or wrong scale | Check the datasheet, e.g. scale: 0.1 |
| CRC errors in the log | EMI or no bus termination | 120 ohm at both ends, route cable away from mains |
| Slow updates | scan_interval too long | Set per sensor, 5 to 30 seconds |
| Slave doesn't respond | Slave ID conflict on a shared RTU bus | Assign unique IDs; default 1 is usually taken |
| Works initially, fails after hours | USB-RS485 adapter without isolation | Replace with FTDI USB-RS485-WE (isolated) |
When Home Assistant is not enough
Home Assistant suits one site with a handful of devices. It becomes impractical the moment you manage a fleet of customer sites, owe formal compliance, or carry an SLA tied to monitoring uptime.
Concretely, once you operate beyond five sites, central reporting and user management need a different platform. F-gas systems above 3 kg refrigerant must keep a tamper-evident logbook under EU 2024/573, Article 7; a local Home Assistant database does not qualify. The NIST Cybersecurity Framework 2.0 also points out that native Modbus has no authentication or encryption, which makes exposing port 502 to the public internet a clear security incident.
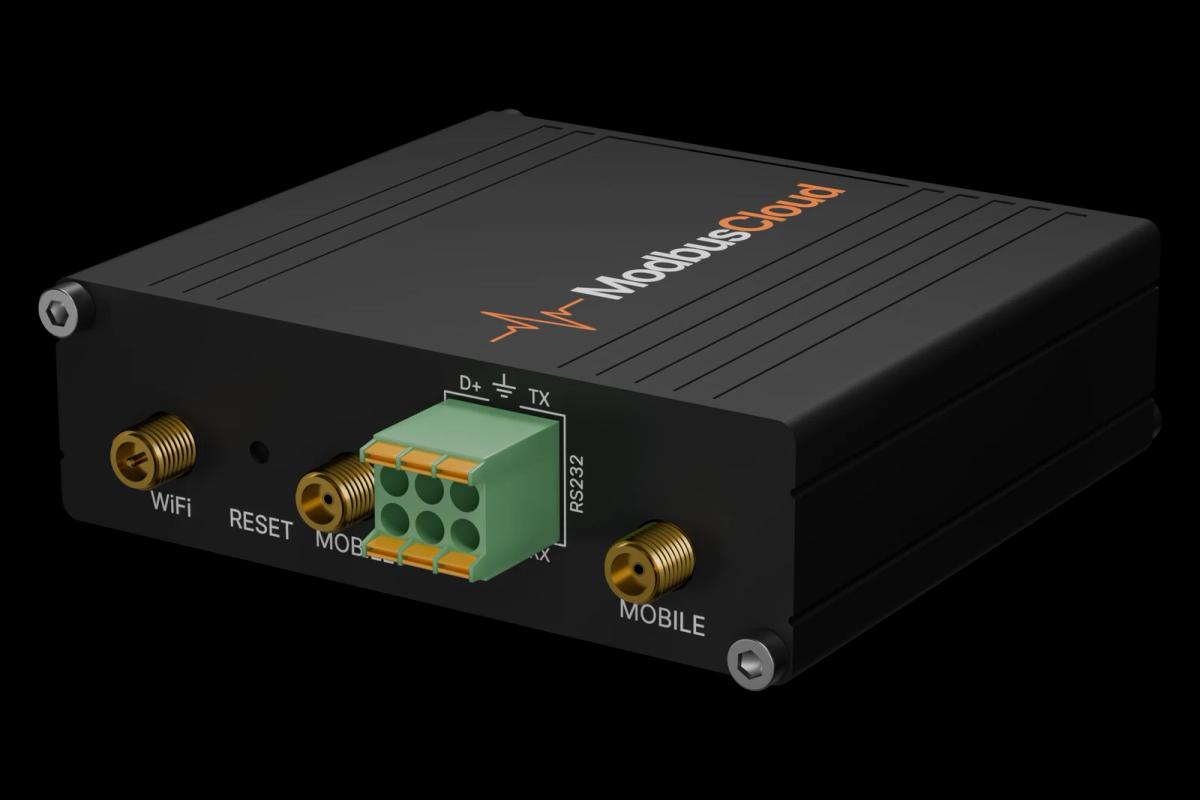
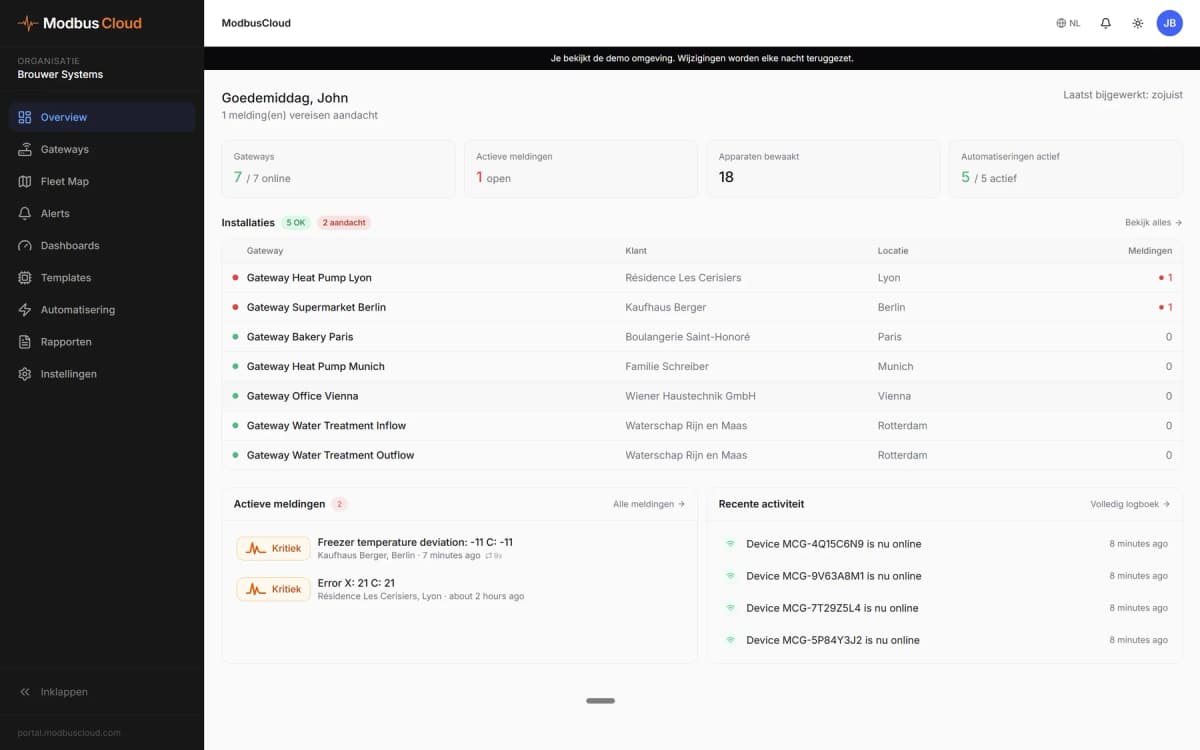
At that point an industrial monitoring platform fits better. ModbusCloud is a monitoring platform for installers that reads the same Modbus devices and adds a fleet view, central alerts and an audit trail. Home Assistant stays at the site for home automation, the ModbusCloud Gateway takes over the professional monitoring layer. For a side-by-side overview see our Modbus gateway buyer guide.
Frequently asked questions
How do I use Modbus with Home Assistant?
Add a `modbus:` section to `configuration.yaml` with a hub name, type (`tcp`, `rtuovertcp` or `serial`), host or port, and sensors or switches each with a slave and address. Restart Home Assistant. TCP needs an IP address; serial needs a USB-RS485 adapter.
Which USB-to-RS485 adapter works with Home Assistant?
Adapters using FTDI FT232 or Silicon Labs CP2102 chips load without driver tweaks on Home Assistant OS. Avoid CH340 chips for 24/7 use; they drift more. For long bus runs an isolated adapter such as the FTDI USB-RS485-WE prevents ground loops.
What is the difference between Modbus TCP and Modbus RTU in Home Assistant?
Modbus TCP runs over Ethernet using an IP address and port 502 (or 1502 for SolarEdge). Modbus RTU runs over RS485 via a USB adapter and needs a slave ID, baud rate and parity setting. RTU copes better with long cable runs; TCP is faster to set up.
What scan_interval should I use for a heat pump?
60 to 300 seconds is enough for a heat pump. Compressor and buffer-tank state do not change every second, and a slower poll keeps the bus quiet. PV inverters and EV chargers benefit from 5 to 15 seconds because their power values change rapidly.
Can Home Assistant monitor a customer site 24/7?
Technically yes, with an SSD and a UPS. For paid commercial monitoring, redundancy, GDPR processing, and a tamper-evident logbook are missing. F-gas systems require a formal logbook that a local database cannot deliver. At that point, move to an industrial platform with fleet view.
Why does my SolarEdge return no values in Home Assistant?
The most common cause is using port 502 in YAML while SolarEdge HD-Wave serves Modbus TCP on port 1502. Enable Modbus TCP through SetApp, reserve a static IP on the inverter, and set `port: 1502` in `configuration.yaml`. Slave ID 1 is the inverter, 2 the battery, 3 the meter.
How many Modbus devices can Home Assistant read at once?
Per RS485 bus, 32 unit loads physically and 247 logical slave addresses. Home Assistant itself imposes no hub limit. In practice, 50 to 100 sensors across multiple hubs run stable on a Pi 4. Beyond that, CPU saturates and polling delays grow.