



All topics
On this page
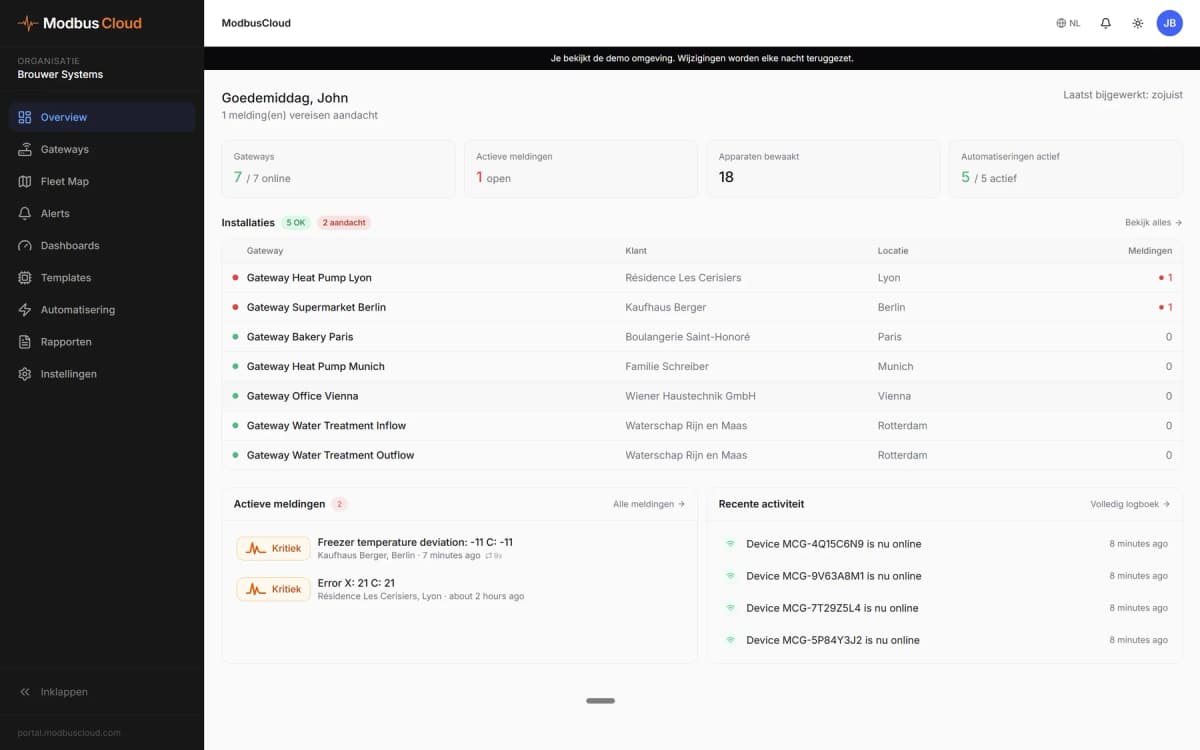
After signing in, your customer lands on Overview. That is where the tiles you choose on their customer page appear. They find dashboards and reports under Dashboards and Reports. You can prepare everything before you give them access. They see alert rules on their gateways automatically.
What you need
- The role Owner, Admin or Technician in your organisation. With Read only you see what is prepared, but you cannot change anything.
- The role Owner or Admin for the Contact button.
- A customer with at least one gateway that provides values. How to create a customer is described in Manage customers.
Put tiles on the overview
In the block Customer overview on the customer page, you choose the first tiles. Your customer sees them on Overview under My overview and adjusts them afterwards.
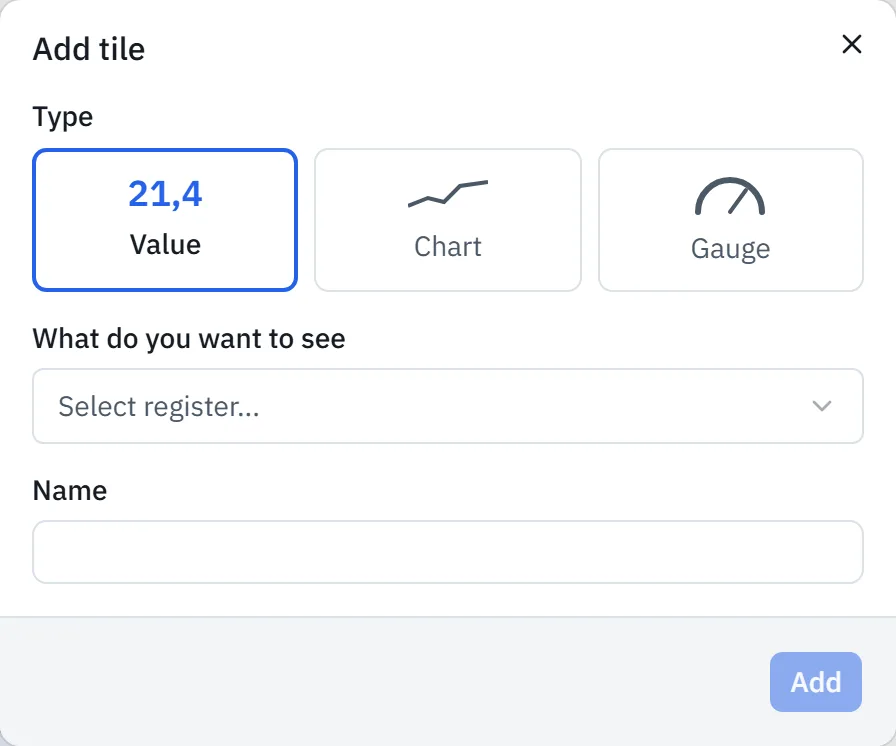
The table shows what each type of tile shows.
| Type | What the tile shows |
|---|---|
| Value | The live value with unit |
| Chart | The trend of the last 24 hours, across the width of two tiles |
| Gauge | The live value on a scale between From and To |
Open the customer list
Open Customers in the menu.
Choose the customer
Click the card of the customer. The customer page opens.
Start editing
If the block Customer overview already has tiles, click Edit in that block.
Add a tile
Click Add tile in the block. The window Add tile opens.
Choose the type
Under Type, choose Value, Chart or Gauge.
Choose the register
Under What do you want to see, choose the gateway, the Modbus device and the register in turn.
Enter a name
If you want a name other than that of the register, enter a name of at most 60 characters under Name, such as Flow temperature.
Enter the scale
If you choose Gauge, enter the limits of the scale under From and To, such as
0and100. From must be lower than To.Save the tile
Click Add. The tile appears in the block and is saved.
You only choose from the gateways of this customer, and the overview holds at most 24 tiles. A gateway that you hide in Choose what your customer sees cannot go on a tile. The portal then shows This value is no longer available.
Move or remove tiles
Your customer sees the tiles in the same order as in the block. You cannot change a name afterwards. Remove the tile and add it again instead.
Start editing
Click Edit in the block Customer overview.
Move a tile
To change the order, drag a tile by the six dots at the top right to another position.
Remove a tile
To remove a tile, click the cross at the top right of the tile.
Finish editing
Click Done. Every change is already saved.
Prepare a new dashboard or report
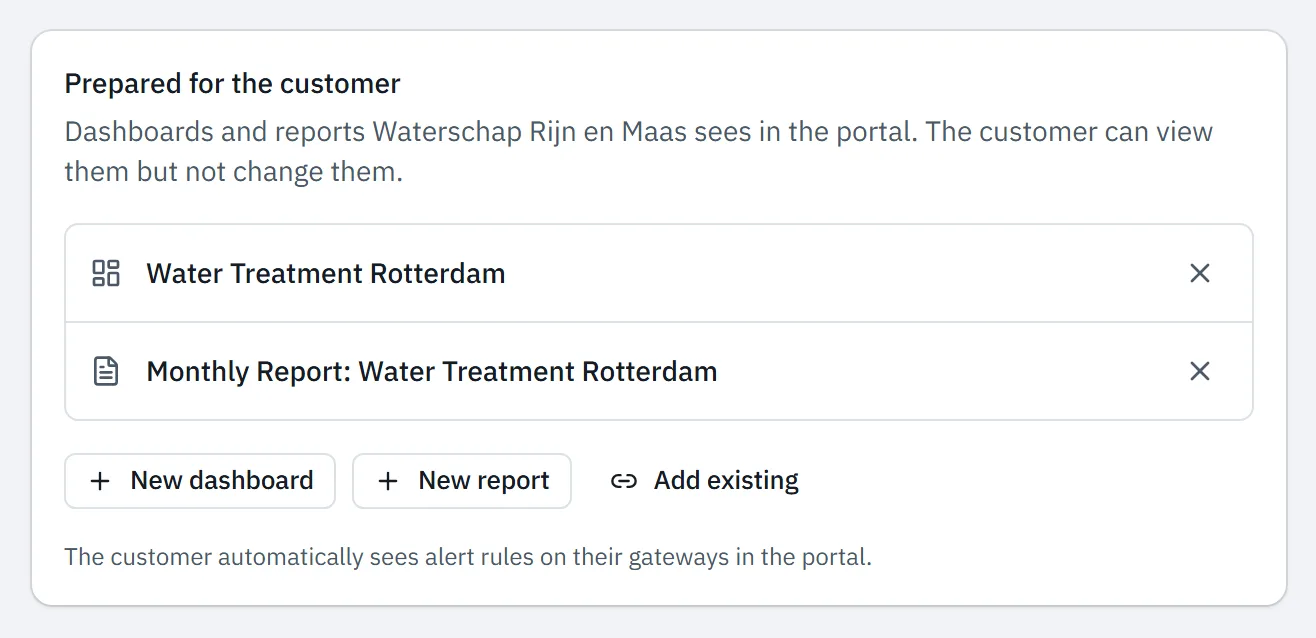
What you put in the block Prepared for the customer appears for your customer under Dashboards and Reports.
Open the customer page
Open the customer page of the customer.
Create a dashboard or report
In the block Prepared for the customer, click New dashboard. For a report, click New report.
Add content
Add widgets as in Create a dashboard. You build and save a report as in Create and schedule reports.
New dashboard creates the dashboard straight away, named Dashboard followed by the customer name. A new report is named Report followed by the customer name and is only saved after Save. The report editor only works on a large screen. At the top of the dashboard and in the toolbar of the report editor, the label Prepared for appears with the customer name.
Prepare an existing dashboard or report
You prepare a dashboard or report that already exists in your organisation without building it again.
Open the customer page
Open the customer page of the customer.
Open the selection list
In the block Prepared for the customer, click Add existing. The list shows the dashboards first.
Show the reports
To prepare a report, choose Reports.
Choose the dashboard or report
Click the name. The portal shows Prepared and the name appears in the block.
The list only shows dashboards and reports that do not belong to a customer yet. A dashboard or report is therefore prepared for one customer. If there is nothing left to choose, the portal shows There are no dashboards or reports without a customer.
What your customer can do with it
Your customer views a prepared dashboard or report, but cannot change it. Under Dashboards, your dashboards appear under a heading with From and your company name.
If they want to adjust a dashboard, they click Make a copy at the top of the dashboard. The copy appears under My dashboards and is theirs. Your version does not change. They open a prepared report to view it or save it as a PDF. They cannot copy a report.
Your customer only sees values from their own gateways, also on a prepared dashboard. So only add widgets with values of this customer. What else your customer sees in the portal is described in Invited by your installer.
Stop preparing a dashboard or report
The block Prepared for the customer shows everything your customer sees under Dashboards and Reports. What they created themselves is listed too, with the label Made by customer. You cannot remove that in this block.
Open the customer page
Open the customer page of the customer.
Stop preparing
In the block Prepared for the customer, click the cross after the name (Stop preparing). The portal shows No longer prepared.
Your customer no longer sees the dashboard or report after that. For your team it stays under Dashboards or Reports. There you recognise everything prepared for a customer by the label Prepared for with the customer name.
Set up the contact button for your customer
With your contact details in Branding, your customer gets the button Contact at the top right of the top bar. On a phone, it is a button with a phone. These details apply to all your customers.
Open branding
Go to Settings > Branding.
Enter the email address
Under Contact for your customers, enter in Email address the address at which your customer emails you, such as
service@example.com.Enter the phone number
In Phone number, enter the number on which your customer calls you.
Enter the WhatsApp number
In WhatsApp, enter the number you use for WhatsApp, with country code, such as
+44 7700 900123.Save the details
Click Save. The portal shows Branding saved.
The button opens a menu with Call, WhatsApp and Email, only for what you filled in. If you leave all three fields empty, there is no button. The portal reads a WhatsApp number that starts with 0 as a Dutch number. So enter a number from another country with its country code.
Updated on 5 November 2026
Still stuck?
Email or call us. Include the serial number of the gateway, so we can take a look straight away.
Go to support